Over the last year my interest in YouTube & building a personal brand/platform inevitability crept into an interest in photography & videography. Learning to tell stories & deliver a narrative effectively is a skill I want to improve & feel can be impactful in all facets life. I began filming my YouTube videos with an iPhone 8 & stack of books to prop the camera up. I then added a tripod for shot stability, a ring light to improve the appearance of my videos & a Zoom H4n to improve the auto quality. I upgraded from editing in LumaFusion on my iPad (still kinda cool that this is possible) to using Adobe Premiere Pro & Photoshop for thumbnails.
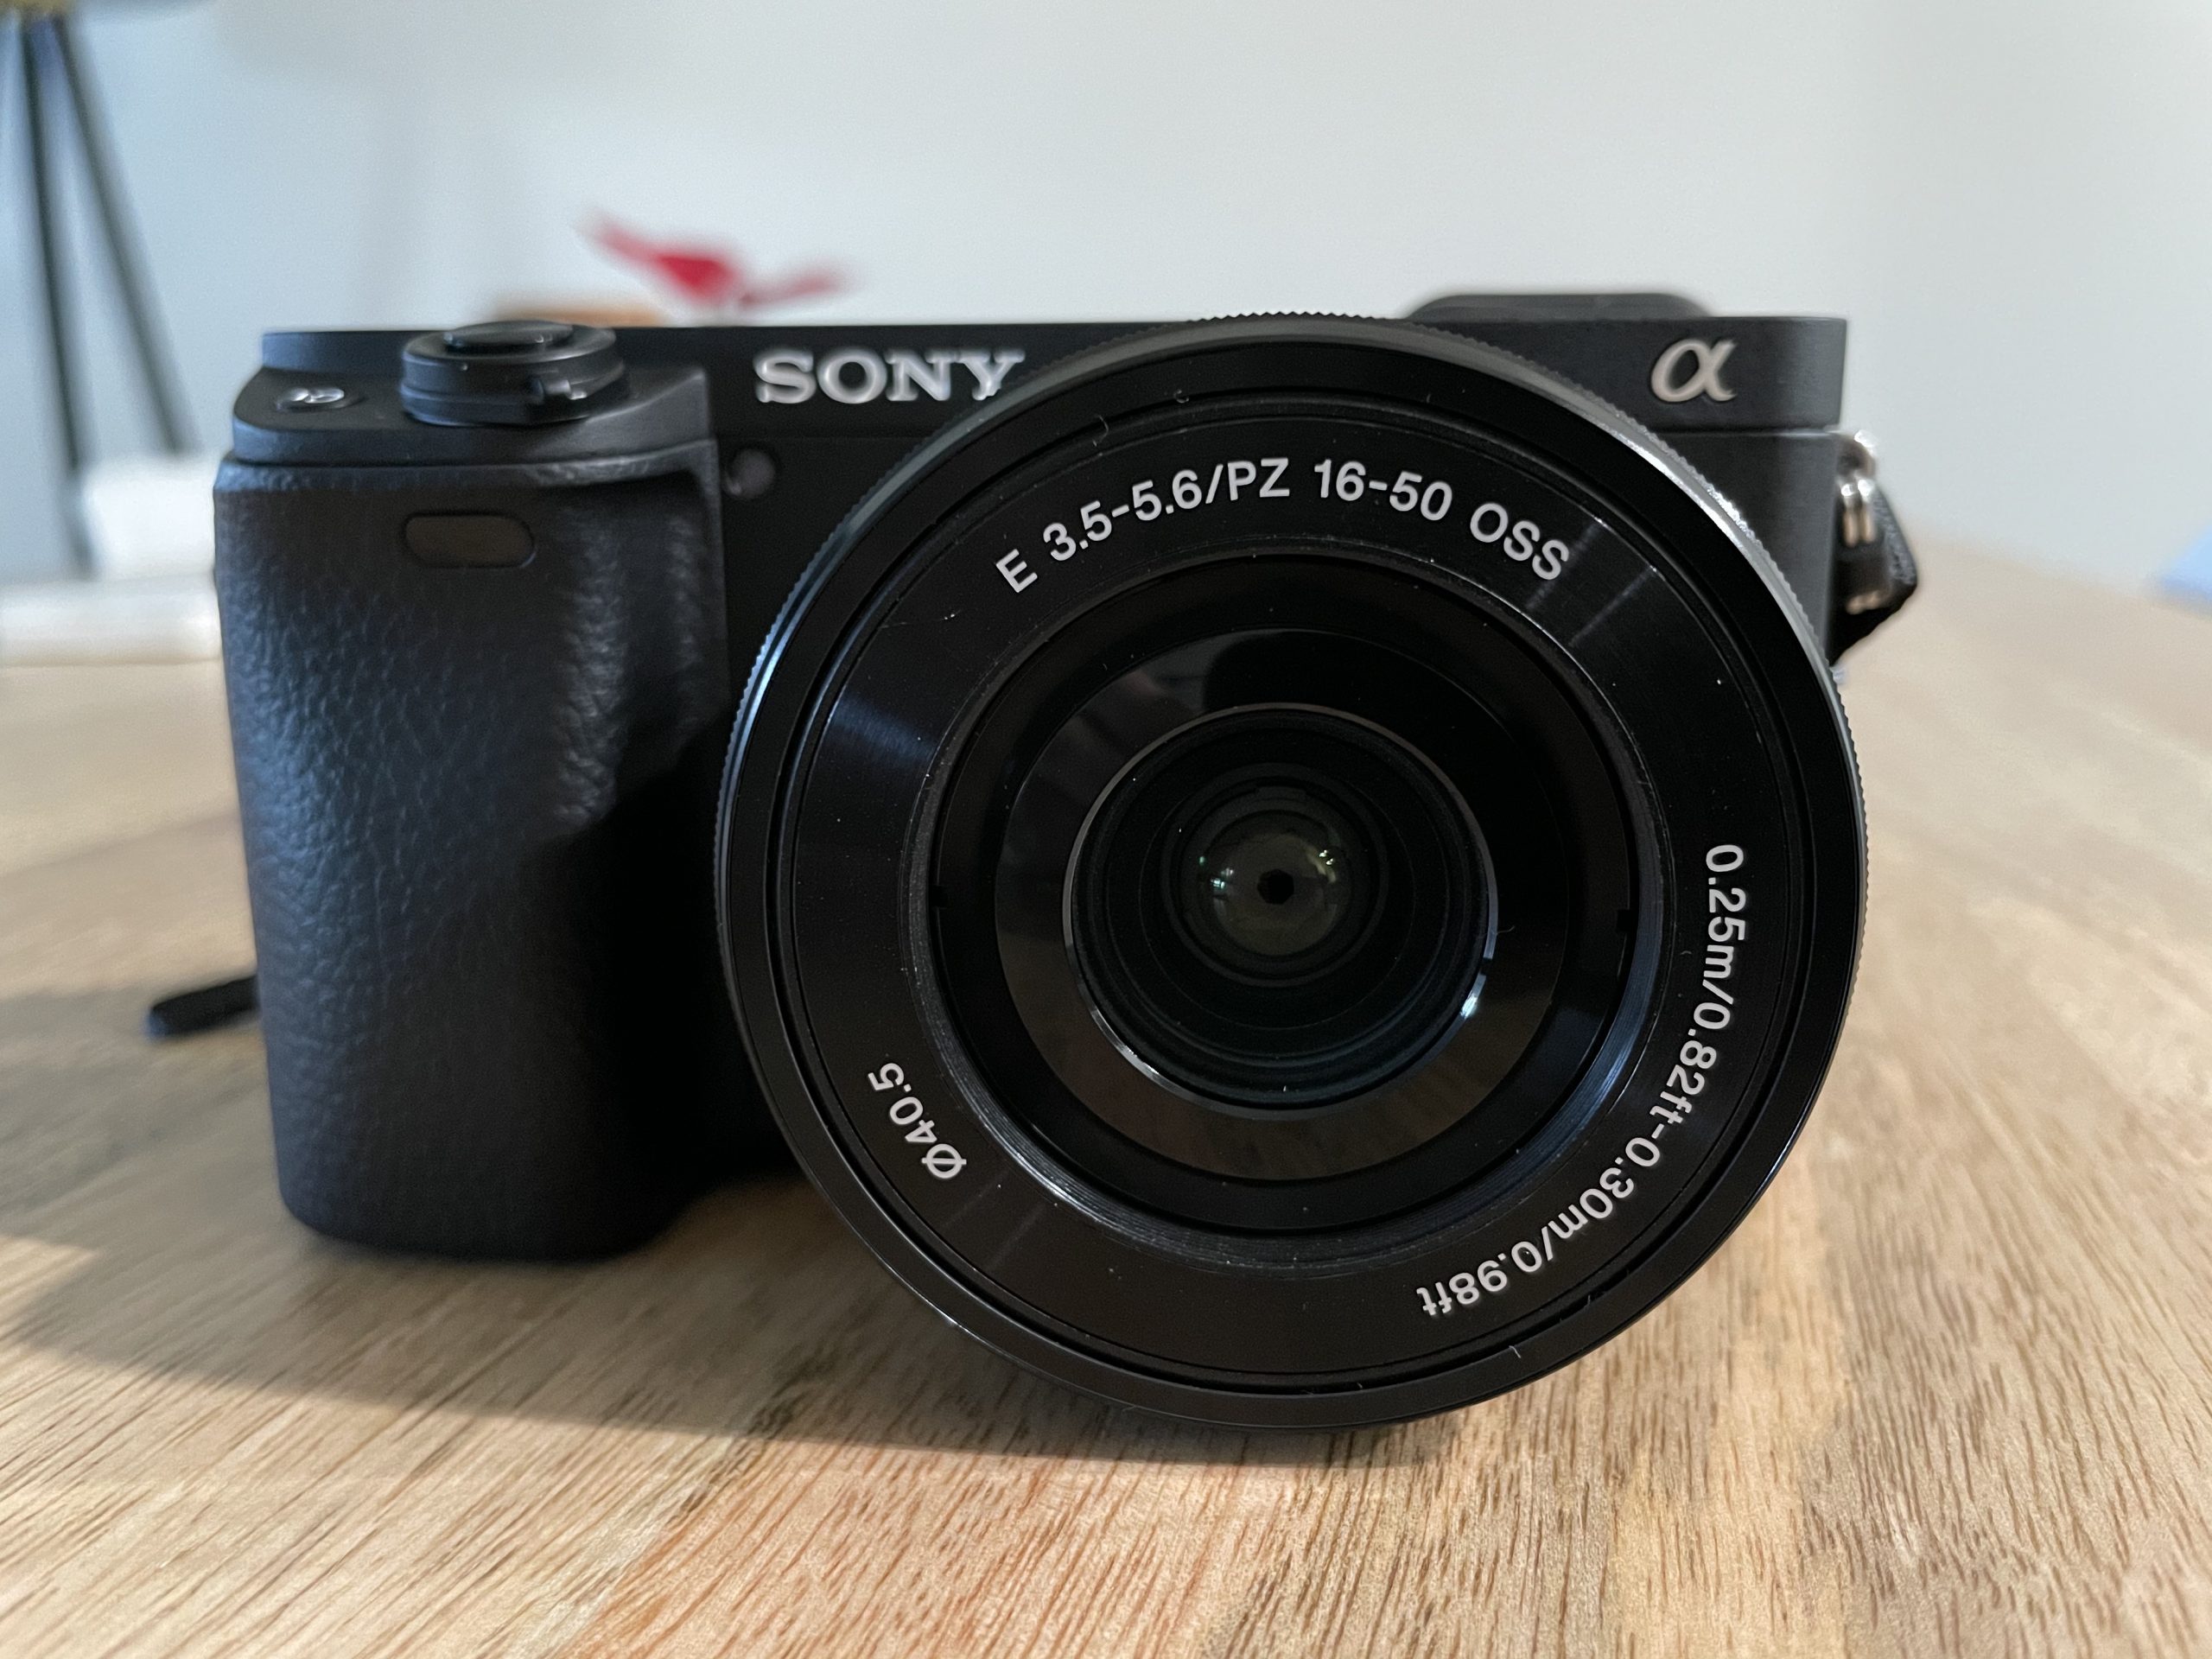
For my birthday this year I was given the next & very important tool for further exploration within my new found hobby — The Sony a6400 mirrorless camera. I choose this camera as it strikes the right balance between cost, video capability (4K video with unlimited duration), and has Sony’s e-mount for future lens investment (for now I have the variable zoom 16-50mm kit lens). It is a crop lens sensor camera not a full frame sensor.
I still have a lot to learn about lenses but the lower the number, the wider the lens. Wide lenses are good for landscapes and real estate shots. Higher mm lenses are good for macro photography and portraits (I have read that 70-100mm is the most flattering for the human face but have yet to test this).
After taking the camera out of the box, my first goal (after taking several test photos on the auto setting) was to orient myself with regards to the many buttons & settings on the camera starting with the main dial:
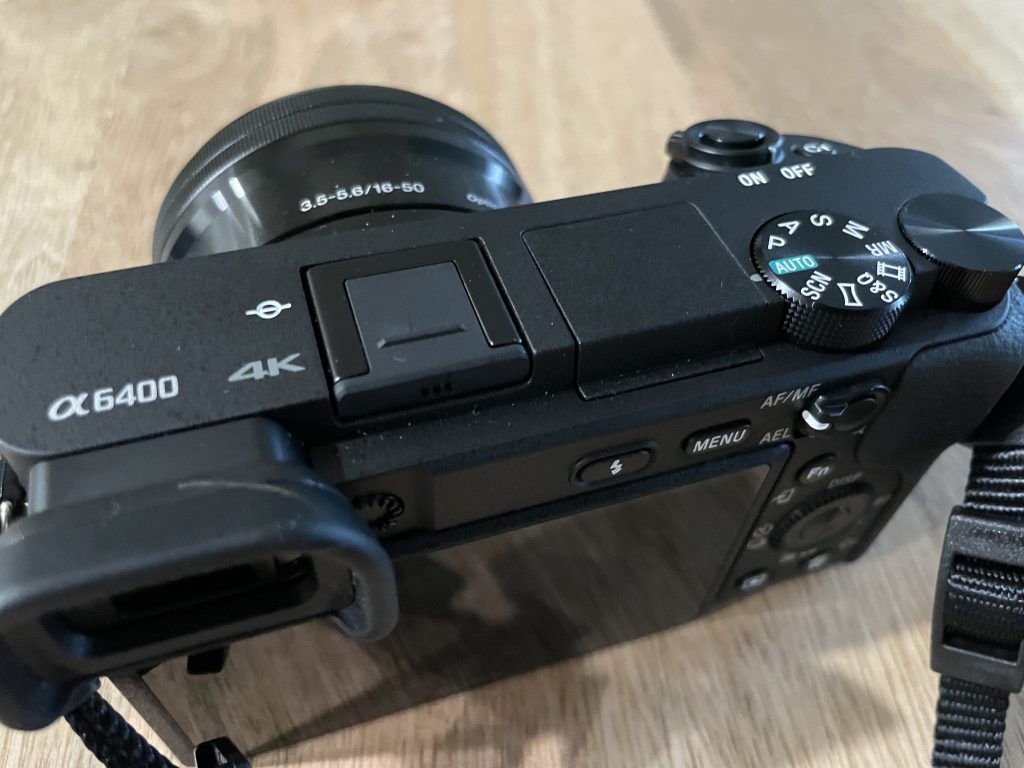
Auto – Intelligent Auto: The camera adjusts all setting for you allowing a point and click experience. The user can still control focus mode & drive mode.
SCN – Scene Mode: Allows the user to pick preset scene modes using the thumb dial (such as sports, portrait, landscape etc.)
Panorama – The next icon is illustrating a panorama photo which this mode allows.
S&Q – Slow & Quick: This setting allows a quick way to shoot a time-lapse sequence or capture a slow motion video.
Movie – The next icon is for movie mode. Select this to capture video.
MR – Memory Recall: Allows the user to program & select their own presets.
M – Manual Exposure: Allows the user to manually adjust the aperture (f-stop value) with the thumb dial & shutter speed with menu dial. ISO is also adjustable.
S – Shutter Priority: Allows the user to manually adjust shutter speed using the thumb dial. Aperture automatically adjusts.
A – Aperture Priority: Allows the user to adjust the aperture with the thumb dial. Shutter speed automatically adjusts.
P – Program Auto: Similar to Auto but gives the user more control. The camera will initially provide what it thinks is the best exposure and ISO levels. The user can then adjust the exposure using the thumb dial or the ISO using the menu button. This setting can be thought of as a ISO priority mode or a mode that allows simplicity of auto with the ability to make tweaks as needed.
So what are ISO, Shutter Speed & Aperture & why would we want to adjust them?
In simple terms, a camera a box with a hole in it. As a camera operator we can control how much light is allowed to come through this hole. ISO, Shutter Speed & Aperture are the main tools to do so & work in conjunction with one another.
Shutter Speed is the amount of time the shutter covering the hole stays open. On my camera this ranges from 8 seconds (very slow shutter speed) to 1/4000th of a second. A fast shutter speed stops motion and is good for photographing moving subjects (i.e. sports photography). A slow shutter speed can be used stylistically for motion blur. A slow shutter speed lets in more light and will likely require adjusting the ISO or Aperture to avoid over exposure.
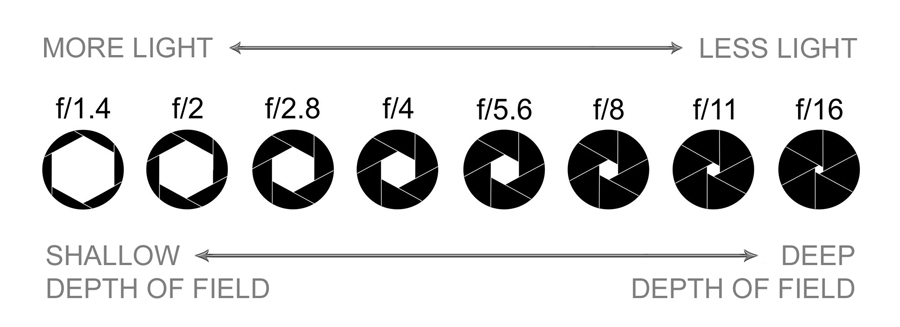
Aperture or f-stop controls how open or closed the hole letting in light is. The larger the aperture the smaller the hole and as a result the less light that enters the camera. A larger hole (smaller f-stop) gives a narrower point of focus and creates shallow depth of field — The appealing phenomenon where a subject in the foreground is in focus with a blurred background. A lens with a smaller minimum f-stop is often referred to as a “fast lens.” This is because you can shoot at a faster shutter speed with the same exposure (because the larger hole lets in more light making up for the fact that the shutter is open for a smaller amount of time). On my kit lens the f-stop ranges from 3.5 to 22 at 16mm & 5.6 to 36 at 50mm.
Finally, ISO stands for International Standards Organization and determines how sensitive the camera is to light. In the days of film cameras, you could buy rolls of film with differing sensitivities (100, 200, 400 etc). Today, digital camera’s allow this setting to be adjusted at any time. In a camera basics video, Peter McKinnon describes ISO as a way to add artificial light (https://www.youtube.com/watch?v=ixRKeQMa7N).


As described above the three settings work together in unison. If you are trying to shoot a fast moving object and select a high shutter speed you will be reducing the amount of light that passes through the camera’s sensor. Therefore you will need to select a smaller f-stop (or larger hole) OR increase the ISO (sensitivity to light). If you want to capture a fast moving object with a deep depth of field (higher f-stop) you can adjust ISO to be higher. However, a high ISO can lead to “noise,” in the image.
I got what you intend,bookmarked, very decent website.